Upgrading or building a PC requires a symbiotic relationship between its internal components, none more so than between the memory (RAM) and the motherboard. These two critical parts of your computer need to be compatible to ensure a smooth and efficient operation. Unfortunately, mismatched RAM and motherboard pairs can lead to system instability, poor performance, or even hardware failure. Knowing how to check their compatibility is essential before making a purchase or attempting an upgrade.
Check the Motherboard Specifications
Before you can determine if a particular type of RAM is compatible with your motherboard, you need to understand your motherboard’s specifications. Manufacturers typically provide detailed spec sheets or user manuals that mention what type of RAM is supported.
Detailed Steps:
- Identify the brand and model of your motherboard. This is usually printed directly on the motherboard or can be found in your computer’s user manual or system information if pre-built.
- Visit the manufacturer’s website and find the support page for your specific motherboard model.
- Look for the specifications or user manual download section, which will provide details about supported RAM types (like DDR3, DDR4), speeds, and maximum capacity.
- Note down the specifications listed, particularly the type of RAM, the number of RAM slots, the maximum capacity per slot, and the total capacity the motherboard can handle.
Summary:
Understanding your motherboard’s specifications is key to determining RAM compatibility. This ensures you do not purchase RAM that is unsupported by your system, saving time and money. The downside is that manufacturers’ websites can sometimes be difficult to navigate and manuals may not always be up-to-date.
Use an Online Compatibility Tool
Various online tools have been developed to make your job easier by automatically checking compatibility between motherboards and RAM modules.
Detailed Steps:
- Access an online compatibility checker like Crucial System Advisor or PCPartPicker.
- Input your motherboard’s brand and model into the search function.
- The tool will display a list of compatible memory modules that are guaranteed to work with your motherboard.
- Cross-reference your findings with the manufacturer’s specifications for a double check.
Summary:
Online compatibility tools are a straightforward way to check whether certain RAM will work with your motherboard. The benefits include ease of use and quick results, but the accuracy can depend on the tool’s database being up-to-date and inclusive of all hardware brands and models.
Consult the Motherboard’s Qualified Vendor List (QVL)
A QVL is a list provided by motherboard manufacturers that enumerates the RAM modules tested and confirmed to work well with a particular motherboard.
Detailed Steps:
- Locate the QVL, which can usually be found on the motherboard manufacturer’s website within the support or downloads section for your motherboard model.
- Download and open the QVL document.
- Search for the RAM brand, model, and part number to see if it is listed.
- If it is on the list, compatibility is very likely.
Summary:
Consulting the QVL is one of the best ways to ensure compatibility because it’s based on the manufacturer’s own testing. The downside is that newer RAM modules might not be on the list if it hasn’t been updated recently or if third-party manufacturers have not submitted their products for testing.
Identify the RAM Type and Speed
RAM comes in different types and speeds, and your motherboard will only support specific varieties.
Detailed Steps:
- Refer to your motherboard’s specifications, as noted from the manual or manufacturer’s website.
- Pay special attention to the type of RAM mentioned (DDR3, DDR4, etc.), as mixing DDR types is not possible.
- Note the supported speeds (measured in MHz), as installing RAM of a different speed might result in the system defaulting to the lowest compatible speed or not working at all.
Summary:
Knowing the specific type and speed of RAM your motherboard supports is essential. This ensures performance is maximized and compatibility issues are avoided. However, it can be somewhat limiting if you already have RAM that’s not of the correct type or if you’re looking for high-speed RAM that your motherboard does not support.
Physical Inspection for RAM Slot Type
A physical inspection can reveal the kind of RAM slots your motherboard has, which dictates the type of RAM modules you can use.
Detailed Steps:
- Power off your computer and open the case to access the motherboard.
- Locate the RAM slots on the motherboard; they are long, usually near the CPU, and may have clips at the ends.
- Observe the number of notches and their positions on the RAM slot, as they vary between DDR types and will only fit the corresponding RAM module.
Summary:
Physical inspection is a practical way of confirming the type of RAM your motherboard requires, preventing incorrect purchases. However, this method requires a bit of technical comfort, as opening your computer’s case and handling its components carries a slight risk of damage from static electricity or improper handling.
RAM Voltage Requirements
Some motherboards only support RAM modules with specific voltage ratings, which are crucial for stability and compatibility.
Detailed Steps:
- Look up the voltage requirements in your motherboard’s specification.
- Make sure that any RAM you are considering operates at the same voltage.
- Confirm this information with the details provided by the RAM manufacturer.
Summary:
Checking RAM voltage compatibility is important to avoid potential damage to your motherboard and ensure system stability. However, this information can be technical and difficult to locate for someone with little experience.
Visually Check the Number of RAM Slots
Knowing how many RAM slots your motherboard has will determine how many RAM modules you can add or if you need to replace existing ones.
Detailed Steps:
- Open your computer’s case following safe handling procedures.
- Locate the RAM slots on the motherboard.
- Count the number of available slots and note any modules already in use.
Summary:
A visual check of the number of RAM slots helps in planning upgrades and ensuring you don’t buy more RAM modules than you can fit. It requires a manual check, though, which might deter those uncomfortable with opening their PC case.
Check for Physical Clearance
Large components, such as CPU coolers, can sometimes obstruct RAM slots. Ensuring physical clearance is important before purchasing RAM.
Detailed Steps:
- Visually inspect your motherboard and locate any potentially obstructive components.
- Measure the space available for RAM modules, keeping in mind their dimensions.
- Compare these measurements to the dimensions of the RAM you are considering.
Summary:
Ensuring physical clearance is key to a hassle-free RAM installation. This preventative measure helps to avoid wasted money on incompatible RAM due to size constraints. The downside is the need for a careful physical inspection, which may seem daunting to less tech-savvy users.
Update BIOS/UEFI for Compatibility
Sometimes, updating your motherboard’s BIOS/UEFI can enhance RAM compatibility, especially with newer modules.
Detailed Steps:
- Check your motherboard’s current BIOS/UEFI version against the latest version available on the manufacturer’s website.
- Follow the manufacturer’s instructions carefully to update your BIOS/UEFI if a newer version is available.
- Recheck RAM compatibility post-update.
Summary:
Updating the BIOS/UEFI can often resolve compatibility issues and even boost system performance. However, the process can be risky if not done correctly, potentially rendering the motherboard non-functional.
Test RAM with Existing Modules
If you already have RAM and want to add more, testing new modules with existing ones can ensure compatibility.
Detailed Steps:
- Install the new RAM module alongside the existing RAM.
- Power on the computer and observe if the system recognizes the new RAM.
- If the computer doesn’t boot or fails to recognize the RAM, they may not be compatible.
Summary:
Testing RAM directly is a practical method of assuring compatibility. The potential downside is that if compatibility issues arise, they can lead to system instability or even hardware damage if the system is not monitored closely during the test.
Consult with Professionals or Online Communities
If you’re still uncertain, getting advice from professionals or experienced enthusiasts can be invaluable.
Detailed Steps:
- Visit a local computer hardware store and seek advice from the technical staff.
- Post your motherboard and intended RAM details on online forums or communities like Reddit’s r/buildapc for feedback.
- Utilize the feedback to make an informed decision on RAM compatibility.
Summary:
Professional advice can guide you towards the right purchase, leveraging their experience and knowledge. The downside is the potential for misinformation, so always cross-reference advice with your motherboard’s specifications.
In conclusion, ensuring RAM and motherboard compatibility is like setting the foundation for a stable and efficient computer. By taking the time to thoroughly check compatibility, you not only safeguard your investment but also set the stage for optimal system performance. This careful approach minimizes frustrations and technical issues down the line, making it a crucial step for any PC build or upgrade.
FAQs
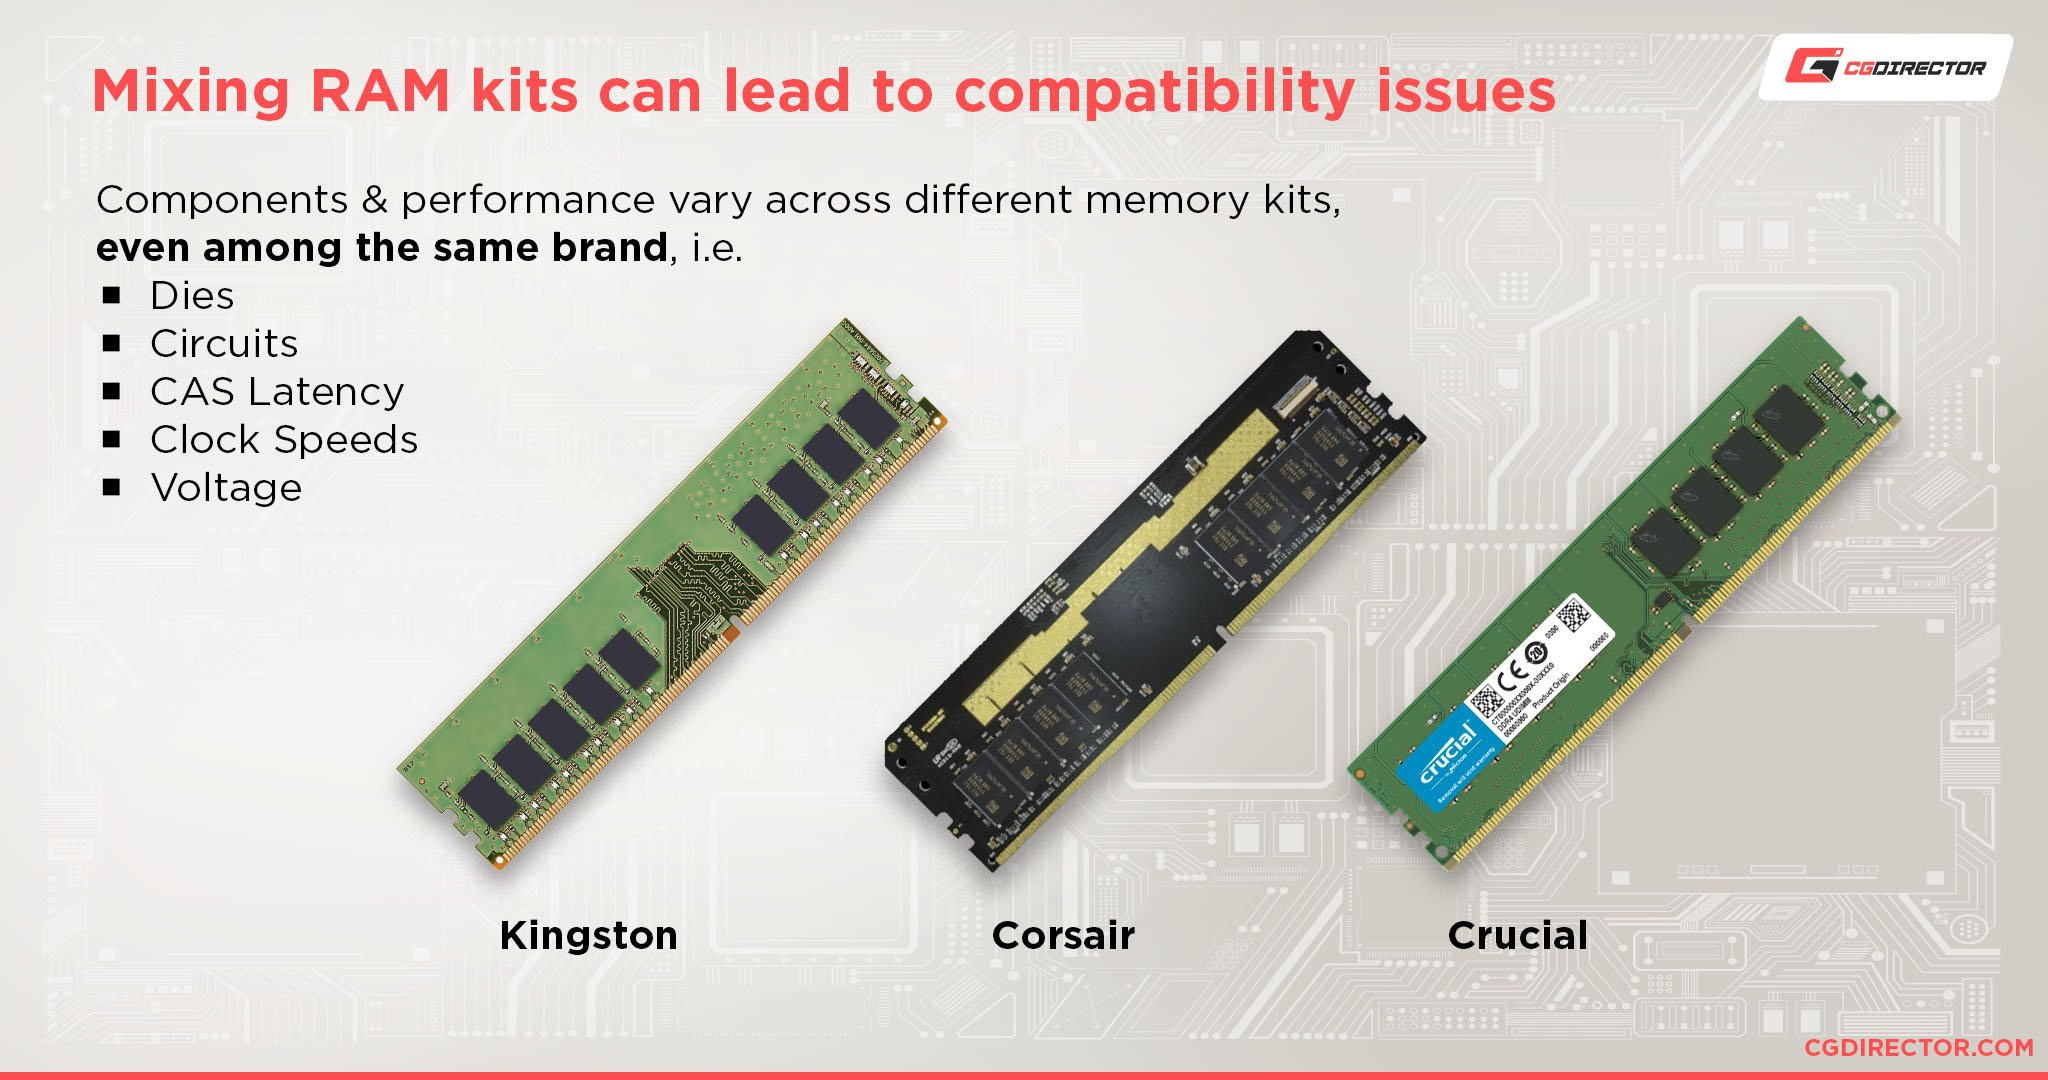
Q: Can I mix different brands or sizes of RAM?
A: While it’s technically possible, it’s not recommended as it can lead to system instability. It’s best to use RAM modules of the same size, speed, and brand.
Q: What happens if I install incompatible RAM?
A: Incompatible RAM can prevent your computer from booting up, cause frequent crashes, or lead to suboptimal system performance.
Q: How do I know if my system recognizes the new RAM?
A: Upon booting, you can check the system information in the BIOS/UEFI settings or use system information tools within your operating system to confirm the total installed RAM.